Wednesday, March 28, 2012

Update, Rough Cuts Finished

The rough cuts are now finished. I showed the rough cuts to the bands and have only heard back from Teenage Octopus, they were quite pleased with their video.
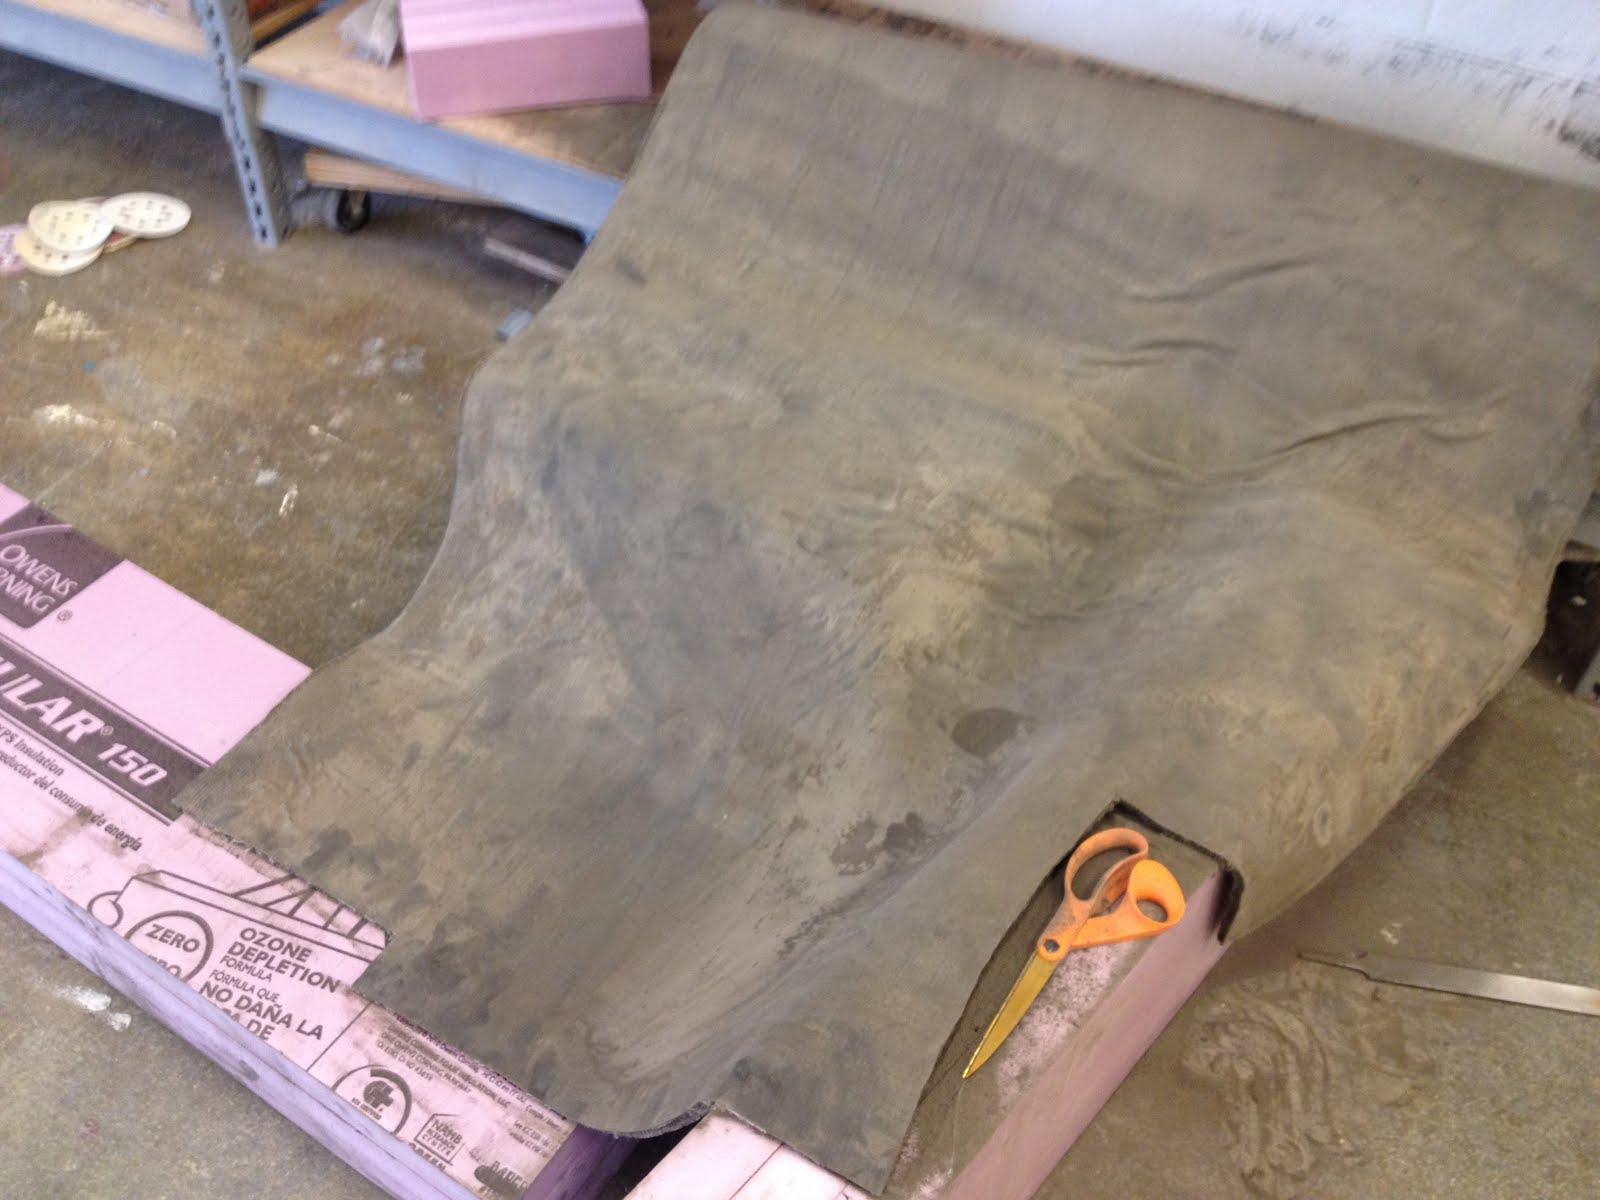
Now I have to pick out the props/costume pieces that I will be using in the gallery.

Hours
M-6
Tu-4
W-7
Th-4
F-4
Sa-6
Su-2

Monday, March 26, 2012

Studio Progress 3/26

Made a lot of progress this week, and my quilts are finally starting to look like quilts. I have a large portion of the first one sewn together now, and will be attaching the rest of it shortly.


Also finished a bunch more blue quilt blocks, and will begin arranging and sewing those in place tomorrow. As long as I keep up the pace, I think I'm right on track to have everything finished on time.

Hours:
Mon, 2.5
Tues, 3.5
Weds, 8.5
Thurs, 4.5
Fri, 3
Sat, 4
Sun, 9

Total = 35 hrs

Sunday, March 25, 2012

Arambula 3-25-12

Have mainly been working on my thesis. Added more neurons to the cage, the picture still takes mainly the same, all light bulbs are capped and ready to attach with fishing wire, everything is spray painted, video is redone after losing the file. Contacting Mark to figure out hanging of the projector.
Outside Studio:12hrs

Tuesday, March 20, 2012

Update

Woo! I see light at the end of this long tunnel!... I think...


This past week:
I reprinted the ear and redrew and printed the lips segment. I realized there's a segment of the hair that looks way lighter than the other pieces... but I don't care!
I also ran around the art school doing off-site stuff. This weekend, I did a mounting trial. I played with the spray mount and linen hinging tape.


Here is the collection of prints I chose to be in the installation. I lightly color pencilled a few. Black color pencil worked great, I didn't really use the white color pencil because it kind of make the blacks a grey muddy blue.


These are all the segments after mounting! It was way easier than I thought.. except one print buckled A LOT, so I had to replace it with another edition. Its all good though! In the bottom left, is a lighter version of the nose which is what I used as the mounting trial.


This is a trial of a hinge. I licked it like an envelope and works pretty well. Last night, I made the rest of the hinges and made them more presentable.


Hours: I'm almost done!! This week I have to build the grid structure and go to home depot to find the fixtures to go into the dry wall ceiling. I found these EZ-Anchors on HD's website and they hold up to 75lbs from dry wall - I think these were what Mark were talking about. I'm waiting for the reflective Mylar to be shipped to my haus. Thursday, I meet with Stephanie Douglass to go over my 2nd draft.


Paul's Studio progress


Currently I am working on my fourth drawing. I also ordered a few magnets to test out on one of the drawings for hanging. Once I finish this last drawing I will touch up and do last details to all, then I will crop them and cut off the edges, leaving some white space for border. This fourth drawing will have almost still water and a very dramatic sky giving it a feeling of sunset. It will have much contrast when it is done.

prgrsss

I have been working.
Monday-6
Tues-6
wed-5
Thurs-5

I also scanned in the older images and have been setting up the digital files


Fulmer Update 3/18/12


So this past week and weekend has been very productive. The wallpaper blocks were finished and shellaced in the begin
ning of the week.


Got all the wallpaper and the background to the prints printed thanks to help form a junior. The wallpaper is printed on white butcher paper and the backgrounds for the actual prints are on mulberry.


Here is an image of the final color. It's a bit hard to see but compared to my wheatpaste test next to it the blue is grayer. The wheatpaste test was done with one of the first proofs and are on butcher paper and it worked very successfully and after a week of being up it hasn't pealed or bubbled.


Goals for this week are to finished all the blocks and have them shellaced and ready to print

Hours log:
-Printing: 12+ hours
-Carving: 12+ hours
-Wheatpaste tests: 3 hours
-Setup/shellac: 10+ hours

Monday, March 19, 2012

Progress Update, 3/19

This past week, I was able to dye more of the fabric that I needed for quilt #2. Since my fabric stock was replenished, I was then able to start tracing and cutting out the pieces I needed for the blue quilt blocks. I know in the picture below it doesn't look like I have that much, but I calculated that since there are 7 pieces that make up each quilt block, and I need at least 200 quilt blocks, that's 1400 fabric shapes that need to be cut out! Hence, a lot of time spent with my rotary cutter and cutting mat.


I also have another stack of big blocks for my first quilt that are just about ready to go. Later this week I'll start reassembling them and sewing them in the new design.

Hours:
Monday - 7
Tuesday - 5
Wednesday - 4.5
Thursday - 7
Friday - 2
Sunday - 4.5

Total = 30 hrs

Sunday, March 18, 2012

Arambula Progress 3-18-12

This past week I finished up most of the structure with the addition of neurons. It is sprayed and the light bulbs were done and are in the last week of finish progress. I have lost my IP video so that has been a bit of struggle to regain it. If anyone has ideas on how to get it off of an old post to this blog that would be fantastic. Thanks. Out of studio: ~21hrs


Elyse Shapiro Studio Progress Mar 12-19

Studio Progress Update for Week of March 12th- 19th

In the studio this week, I began to collect all of the materials necessary for my to execute the actual structure for my imagery. I have decided that rather than using ZAP-A-GAP as in the past, I will hand drill holes into the polycarbonate and insert rivets at a rate of one rivet per 2 inch gap. This will ensure the polycarbonate does not crack and still doesn’t create a cloudy or foggy clear adhesive give away. These rivets do not bother my in my stencil cut designs and I think they even serve to make the pieces look more industrial and relative to Detroit. Also this week, I organized the vellum and stencils for lighting fixtures 1 and 2. Upon comparing the pieces’ imagery, I am currently working to choose an appropriate size and image source for the third and final lighting fixture. My ideas thus far revolve around themost significant abandoned building known throughout Detroit. Examples of these include Central Station, theaters, hotels, office buildings, schools, and miscellaneous churches and executive buildings. In the upcoming week I will complete the image and begin to cut the stencil at a

very eager rate. Time is running out!

Examples of buildings of inspiration within Detroit that may be encompassed within my last stencil cut:


Redo of sketch for structure, including rivet placement for construction:

In-studio hours, week 10:

Monday- Create proper size and structure for piece 3 (3 hours)

Tuesday- Work on idea for lighting fixture 3, research significant abandoned buildings in Detroit (7 hours)

Wednesday- Bend metal in cold metal shop for lighting fixture 2 (4 hours)

Thursday- Research best places in Detroit to make a trip to on Monday. (4 hours)

Total: 18 hours

Elyse Shapiro Studio Progress Mar 5-11

Studio Progress Update for Week of March 5th- 11th

This week, I spent a great deal of time perfecting the imagery for my postcard, in addition to working on my thesis paper. While I would have liked to get more physical work out of the way, these things needed to take priority, leaving me with less actual studio hours than typical for me. My postcard imagery is taken from the first lighting fixture stencil. I photographed it on a light table to ensure I was able to see all details through the stencil. This week took additional time to entirely rewrite my thesis. Because it has changed so dramatically since my first draft, I had to simplify my ideas and make them easier to understand. This week, I also spent time meeting with the curators for the final show. I have decided to show my work on north campus in the Slusser gallery. As I was drawing diagrams, it became clear that the Work Gallery would be unable to accommodate my needs. I am interested in showing the pieces in a dark place to ensure the viewers are able to see both the shadows cast by the pieces, but their extreme attention to detail as well. I have also decided that my pieces do not need the unnecessary and seemingly impossible addition of rotation for the pieces. Rather, I am going to have the pieces in the center of the gallery, allowing viewers to make full trip around them and see every side.

In-studio hours, week 9:

Monday- Photograph imagery for postcard 11 AM- 2 PM (3 hours)

Tuesday- Rewrote thesis 10AM- 4 PM (5 hours)

Wednesday- Bend metal in cold metal shop for lighting fixture 1 2PM- 5 PM (3 hours)

Thursday- Edit thesis 2 and collect photographs for thesis 10AM- 3 PM (5 hours)


Total: 16 hours

Elyse Shapiro Studio Progress Feb 20- 26

Studio Progress Update for Week of February 20th to 26th

This week in the studio, I spent the majority of the week slaving over my cutting pad with an X-ACTO blade at hand. I spent a great deal of time developing different textures for the various graffiti pieces found throughout the Detroit area and compiled together to form a fictional, all encompassing building. After countless hours in the studio, I decided the stencil was finally complete, but that required me to strongly alter the initial “stamp” image. The “stamp” imagery that is intended to be printed on vellum had a lot of extraneous details that had the potential to be disturbing to the viewer. I am eager to finally get the vellum printed for the second lighting fixture and apply the two layers together to see their cohesiveness.


In-studio hours, week 7:

Monday- Cut stencil 2 10AM-3PM (5 hours)

Tuesday- Cut stencil 2 8:30AM- 4:30PM (8 hours)

Wednesday- Cut stencil 2 6PM- 10PM (4 hours)

Thursday- Cut stencil 2 and edit torn spots 1PM- 7 PM (6 hours)

Friday- Work on vellum for stencil 2 1 PM- 3 PM (2 hours)

Saturday- Work on and finish vellum for stencil 2 10AM- 4 PM (5 hours)

Total: 30 hours

Tuesday, March 13, 2012

Progress Since Spring Break

Before break I went to Professor Rodemer's electrical equipment where he, along with Jan helped me figure out some technical details for my installation. During this time Jan recommended I contact an inflatable artist that previously did work at U of M. I went to her site... http://www.patoleszko.com/ and contacted her via email. She was able to answer several questions of mine that concerned materials and fans. She also informed me that she is coming to Ann Arbor around the same time as we are setting up the IP installation so I am hoping to meet with her before the show opens!

For my next inflatable design I wanted to create something that would be much more simple to sew together compared to my last piece that I still need to go back and work on. I am planning on making these three tube like structures that you see on the left. They are a representation of a dream I had where I boiled these dead birds in a pot and then they slowly became brightly colored worms. After I figured out the design, I needed to calculate how large each structure would be and how much fabric I needed to purchase. My calculations are shown in the image on the right.
This is more math of me trying to figure out how much fabric to buy (image on the left). After I figured out how much fabric I needed to purchase I then needed to figure out the sizes to cuz the fabric on the zund knife cutter (image on the right). Even though I am only cutting the fabric into strips for this design, I still want to make sure that each piece is the exact same size.

I called the fabric store that I have been getting my material from and decided to purchase white nylon rip stop so that the bright colors would really pop off of the white. I made sure to text the textile paint that I plan on using for this design on some of the same navy nylon rip stop I had purchased for my last inflatable. The paint seems to really hold to the material so I think it will work ok.

While my fabric still has yet to come, I made sure to create illustrator files for the Zund knife cutter and make an illustrator for the design I plan on printing onto these inflatables.

This is just a screen shot so it is relatively blurry but this is the design I created in illustrator that will be screen printed onto the rip stop. It is modeled after Roy Lichtenstein's dot pattern found on most of his work that reminds me of a comic book. The dots will be the three colors that i remember the worms being in my dream; orange, pink and red. I thought this design my emphasize the the ripples that worms have when you look at them up close.

This is a close up of the design. It will be 12 inches wide and I made sure to put the design in repeat so it would be easy to print. I also talked to Sherri to make sure the dots weren't too small to use a photo emulsion screen.

So far, I have borrowed fans from the fibers studio so I looked into renting vs. purchasing fans. I also sent out a mass email to the IP group seeing if anyone had any lighting or fans I could borrow for the exhibition. Few - no people responded. However, I found out that target has the best selection of fans with a 90 day return policy. So, my plan is to purchase the fans and return them after the show ends. As for lighting, emailed Jeff Alder, a U of M faculty member that works at the Dude on lighting and stage setup. I was informed that I will not be able to rent the equipment I thought I could from the Dude and that Jeff would be able to help me "make" the right lights I need. Hopefully he responds to me soon so I can figure everything out.


Logged Hours:
First off, I have been having a difficult time with the scanner and that is why I was not able to post my work over this past weekend. Luckily I was able to get it to work again and finally post. However, after spring break, it is hard for me to log my hours during that time considering I was on vacation.

Monday: 4 hours
Tuesday: 6 hours
Thursday: 4 hours
Friday: 5 hours
Sunday: 5 hours

Total: 24 hours

New Schedule for the last month:

Week 1 (March 11-18th)
-try and contact the Michigan theater program or dude center to see if I can rent/borrow industrial lighting equipment
-figure out if I should make a photo emulsion screen or laser cut design onto paper
-cut fabric using zund knife cutter
-sew material
-make photo screen

Week 2 (March 18th - 25th)
-Finalize all lighting and fans
-figure out what fabric to put on the end of each worm
-go back and fix 2nd hanging inflatable

Week 3 (March 25th - April 1st)
-last minute touches on inflatables
-think of additions and entry way for installation
-how to secure attach fans to inflatables

Update 3/4/12-3/13/12

So I've been busily carving away and completed my wallpaper blocks last night including sealing them to be ready to print.
I've cut down most of my paper to prepare for printing the wallpaper this evening as well.
I researched a couple recipes for making wheat paste including a video instruction that seems promising: http://video.about.com/interiordec/Make-and-Use-Wheat-Paste.htm
I'll be doing some tests at home to make sure it goes on smoothly as well as can come off the wall.
I've come up with a couple ideas for the raccoon block but that still needs to be flushed out a bit.

The hours for this past week:
Somewhere over 20 hours carving
1 hour cutting paper
5 hours sealing

Monday, March 12, 2012

Everything since spring break

OK! So since spring break, I have printed my entire first zine, designed a lot of my second zine with plans to print by the end of the week/weekend, and hammered out a lot of things with my show. In terms of the exhibition, I've found my cabinet (whew!) and I've planned out how things will be laid out. I am going to be getting the advertisement together this week after I talk to Michael Rodemer tomorrow about technical things for the show that I need answered. I've been drawing like crazy for the next zine, and here are some in process images from all that jazz.


Hours:
Monday: 2
Tuesday: 4
Wednesday: 4
Thursday: 3
Friday:  5
Saturday: 4
Sunday: 7 


Update for the past month

This post consists of an update for the weeks of: 2/12, 2/19, 2/26, 3/4, and 3/11
Instead of showing hours I figured the best way to show what I have been doing is to show images of my progress.


The rhino model that I made- the concept was to use one sheet and drape it in a manner so that the fabric itself acted as the table top and leg at the same time.


cutting of the full scale model itself.


Attempted to see how the concrete cloth would drape by testing out thick felt. Looked somewhat promising.

Spring Break.


With the help of Parisa and Kayla I tried to see if the fabric would wrap around the model in different ways. That failed.


Testing of the actual fabric to see what simple shapes I can make. Also testing to see the strength of the material. After it hardened I stood on it and it didn't crack one bit!


Another sample test.


After all this I have decided to make an indoor/outdoor chaise lounge. I have realized that I will need to work with other materials including concrete cloth inorder to create my furniture. My revised thesis is that I want to showcase the lightness of the material and its ability to be indoor and outdoor. I have done market research and do not believe that there si a successful chaise lounge that is both visually pleasing and has these attributes. I plan on routing my model this week and purchasing teak to start building. I have also decided to make a simple coffee table to go with it.

That's all for now!

Progress 3/12

Since I forgot to log my hours for the week before Spring Break, here they are. Most of that week was spent getting ready for my critique on Thursday, and assembling the first part of my second quilt, which currently looks like this:

Hours:
Monday, 4-10pm (6 hrs)
Tuesday, 10:30 - 1:00, 1:30 - 6:00pm (7)
Wednesday, 10:30 - 3:30 (5)
Thursday 10:30 - 12:30 (2)
Total = 20 hrs

Since I ran out of one of the fabrics for my second quilt, I've gone back to working on the first one this week. Much of my time was spent tracing and cutting out more pieces for each of the squares, and this week I'll sew them together to create more squares.


This week I also made a number of squares that are smaller in scale. They're 1/4 size of the regular ones.


Lastly, I worked on deconstructing the piece that I had showed at the December critique (my first quilt). I reworked my design for that quilt, so I'll need to take apart each of the individual squares so that I can reassemble them in the new layout. Therefore, I've spent a good amount of time with my seam ripper this week...

Hours:
Tuesday, 10:30 - 11:30, 1:30 to 4:30pm (4)
Wednesday, 4:00 - 7:00pm (3)
Thursday, 10:30 - 12:30, 3:00 - 5:00pm (4)
Friday, 3:00 - 7:00pm (4)
Saturday, 1:30 - 5:30 (4)
Sunday, 4:30 - 6:30 (2)
Total = 21 hrs