Sunday, December 18, 2011

Final stuff for this semester


Uploaded is my final stable table! And some stools to go with it. I also have my other side table done as well. A better picture of it will be taken in the next few days but here are 2 images for now.

Thursday, December 15, 2011

Progress

Here is the current print with two blocks:

Next here are two sketches I've been working on for my next 2 prints. I plan on working on these a bit more over break after getting feedback from consultations:


Currently I'm working on a text block for my first print. The text is of a Fijian song called Isa Lei which is a farewell song sung to people leaving the islands talking about how they long for the time they will meet again.

Elyse Shapiro- Studio Update

Final lamp structure- fabric has been pleated and adhered to the aluminum poling using carpet tape and zap-a-gap permanent glue. The structure will also have a top and base which are currently not completed.
This is the view of the inside of the lamp from above, it will be covered with a clouded polycarbonate. The lightbulb is a compact fluorescent bulb.
The fabric was sewn to a supportive strip to make application more accurate.
View of the lamp with light turned on from above.
Image from side.

Monday, December 12, 2011

Update

For the critique, I've been able to get some sample video sequences done.  Thanks to getting the render garden functioning with Modo, some of the renders take 5 minutes, as opposed to 5 hours.

These videos include the first scene parts, which then go right into the loops.


Making the music is proving to be quite fun.  Everything is really in place as a technical framework, so now it's just on to pure content creation, which is a blast.


Sunday, December 11, 2011

Arambula 12-12-11


Sunday 11th- Teresa Dennis

Since I need a final sequence for Wednesday's critique, I've been working on finalizing everything I have so far.


Re-doing Reaper's Head:


Starting Damon's Sculpt:

Texturing and bump mapping the little shack

No Images. But here is the update.

So I have no images for this week since I'm working on more technical issues. I have been trying to solve the issue of stability-or lack there of for my dining table. I have been trying to figure out the best way to solve this issue and have come up with a few different solutions. I also have finally assembled my table all together; however, I may have to take it apart depending on how I plan to weld my rods in the base of my table.
For my chair, I have welded and assembled one chair and am currently working on the other one. I have also been researching other ways to use concrete such as concrete chandiliers and have been taking the comments I received in my mock IP review into consideration for my next project.
Lastly, I have been practicing and refining my IP powerpoint for the IP Review.

STUFF I've been doing...

So've I've just finished my model. I hammered in the rods (mdf bars) in with nails to clean up the tape. And I suspended the segments with transparency paper. Then I put up wallpaper in the background. I would like to create my own wallpaper or painted/drawn design on the walls of the exhibit.

Before I put the wallpaper up, I had an image of the entire portrait posted on the back wall in order to align the suspended segments.

I'm still considering if I want to put an image (of the entire portrait) on the back wall over the textiles in the final project.


Here is a close-up.

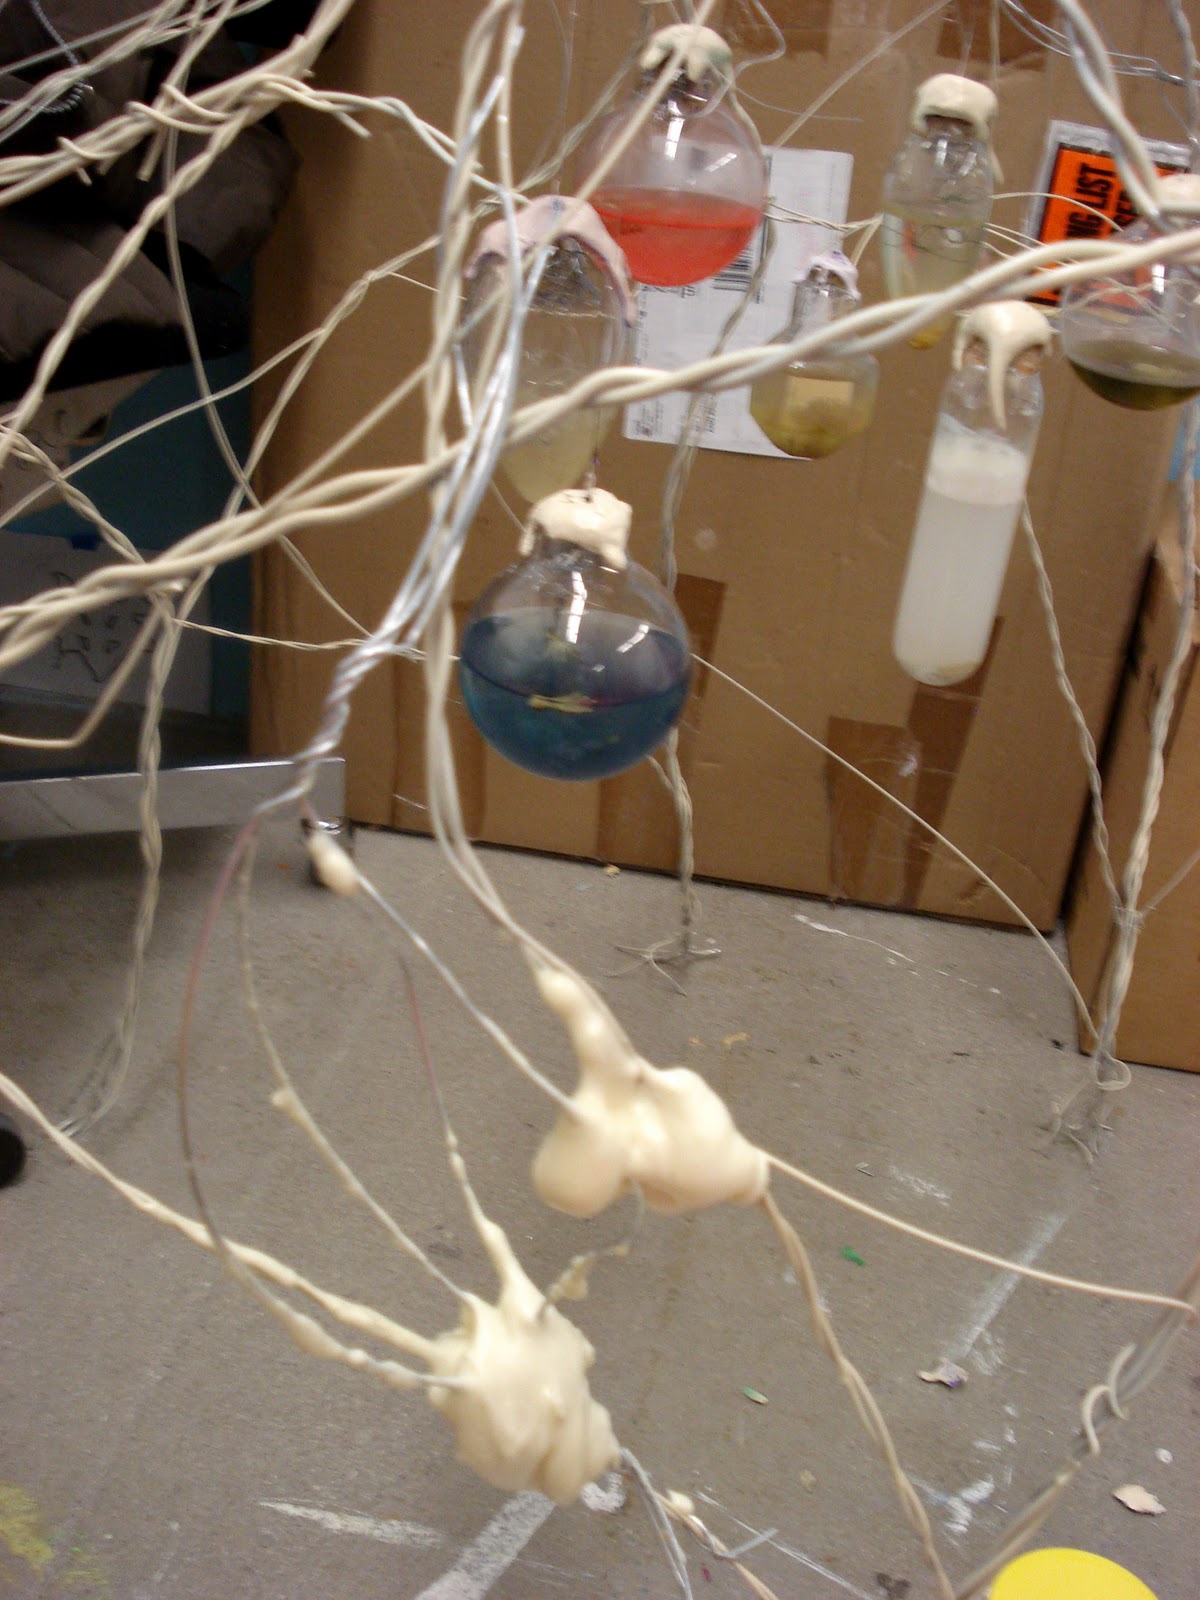
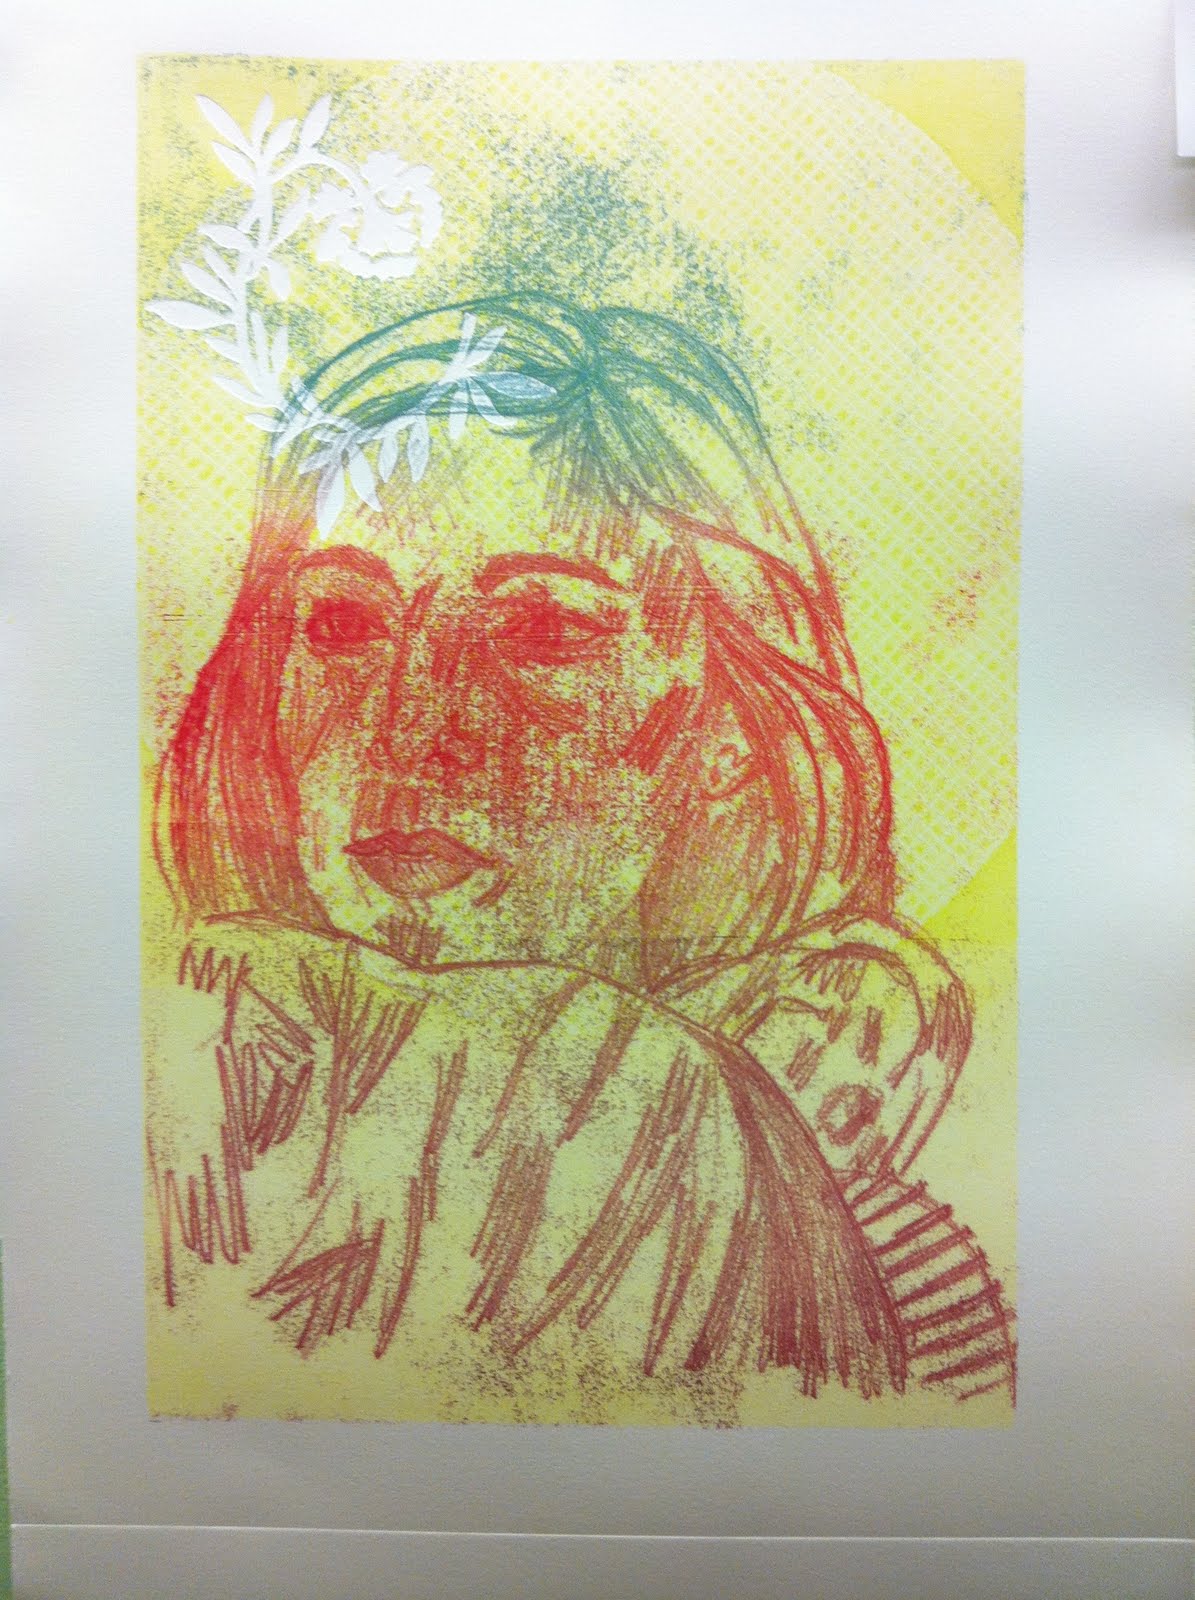
I took a segment of the installation and brought it to life-size dimensions in order to make a lithograph plate sample for the IP review.

I printed on several sheets a scanned image. I traced it on to the plate from the transfer paper (hence the orange conte-crayon). The center sheet is a newsprint proof of the lithograph after the first etch. After the second-etch, I printed two editions on Kozo and two editions on Sekichu (not displayed).

Kozo was the winner. I love that paper.

Friday, December 9, 2011

Studio Update

On the inner layer of the lamp structure, I have cut and applied the vinyl to the polycarbonate surface. The polycarbonate is being held in place by the aluminum poling, which has been morphed into a circle and welded together. In addition, bolts will be placed periodically along the metal rim of the lamp to ensure it is secure.
I began the process of screen printing the outer layer of the lamp with acrylic paints on polyester lining. Unfortunately, having to use the acrylic paint with the synthetic material rather than dye, the paint sits on the surface of the material rather than blending with the fibers. Because of this, it made the material far too difficult to see through; there is no way the viewer would be able to clearly see the detail from the inside of the lamp through it.

Rather than using the polyester, I decided to print on thin muslin that is easier to see through. This way, I will not be able to permanently alter the shape and texture of the material (like polyester), but I can use different pleating techniques to have a similar effect. This image is taken prior to the extender being washed out, so the color is diminished significantly. One of the muslin types is bleached, while the other is natural and I think I prefer the natural. I will continue trying to print on this material in the upcoming week.

Tuesday, December 6, 2011

Studio Progress 12/6

Nothing new to report this week, still working on sewing a million little squares for the quilt. I plan to be done with the squares by this weekend, so I can start sewing them together to make the top layer of my quilt.


Editing Progess

Held off on posting until today because rendering the full length (4 min) video takes 4-6 hours.

Here is a rough cut of the whole video:
Some parts of this are much more complete than others, this is just to give a general sense of the video as a whole. Many layers and much needed edits have yet to take place in this render of the video.


To give some sense of how this video is made here is a pulled apart video showing how all of the layers fit together in the introduction of the video.


It has been slowed down a bit so that there is a bit more time to process all of the layers that you are looking at.

Monday, December 5, 2011

Update- Teresa Dennis

Finished painting the skin weights on my monster model, and finishing up the house model.

animals


These are going to start happening quickly. Yes, I know I haven't done any of the type I'll do it I swear.
Still need to fix the water below the shark, add some bloody drips, and I think I'm going to put a different limb in the water of the hippo one, and fix the hippo eyeball. I also removed the shirt on the lady with the chimp because it was distracting from the face/everything, I'll be fixing the hands on that so it looks more wonderful.

New Progress-Dec. 5th

I purchased 35 yards of nude habutae polyester from the online fabric store that will arrive in the next couple days. It deffinitely ended up being worth my time to speak with several different companies to try and find anyone that would give me heavily discounted fabric or donations. The polyester I just purchased for the pyramid ended up being 50% off!

Preperation for printing:
The fabric I purchased is 60 inches/5 ft wide. Originally I had planned to make the pyramid 6ft wide by 8ft tall. Due to my limitations with the dimension of the fabric, I have now changed the dimensions to 5ft wide by 8ft tall. This way, I will not have to print my design in sections and try to piece the print back together which could be problematic.

The silk screens I will be working with are 2.5 feet long by 4 ft tall. So I do have to seperate my image I plan to print based on the limitations of the screen size along with the width of the table.

I have created my final designs in illustrator this way I can print out the eye and zipper on velum, and create multiple photo screens for the actual print.

Illustrator designs I created:-Each color on this zipper design will need to be a separate screen (3 screens total)
-This design will be printed on the nude polyester


The eye will be printed on blue fabric to add more dimension to the pyramid shape. Im hoping to create the effect that the eye is actually inside the pyramid and the nude fabric is being unzipped.


Sketches:
I have also continued to sketch the other shapes I plan to make for the installation. One that I have yet to finish is a melting ice cube. Here is what I have so far.

This is a staircase that will vertually lead to nothing. It was based on a re-occuring dream I had where the staircase would be a transition point in the dream. In order to make the staircase realistic I measured my own staircase. The dimensions on the left hand side show the dimensions of the staircase in my house. I also liked the idea of having a design that is continued on the horizontal portion of the stairs so when the viewer looks up, the design is complete. This staircase will be 10 ft. tall.

This object was based on a dream I had about putting a group of sick birds in a garbage bag and carrying them to another location that would be safe for them to call home. The black/gray color represents the garbage bag I placed them in. The circular colored "fluff" portions represent the beaks of the birds trying to puncture the garbage bag. I chose the "fluff" to be colored red, pink, orange, and yellow because at the end of the dream none of the birds had survived in the bag so I boiled them all in my kitchen. As the birds boiled they turned into worms that had these colorings.

I will create this "fluff"-like fabric by using polyester, tying off sections of the fabric with marbles, them steaming the fabric so it holds the circular shape. Below is a sample where I used this technique.

Also, for my final review I plan to create a small scale model of the entire installation. This way the professors reviewing me will better understand the installation as a whole and where each structure will be placed. I decided the easiest way to design this model was to create multiple illustrator files that could be exporded and laser cut to the correct shape. I will be working with the laser cutter tomorrow, then draw the designs onto each shape, and finally glue the shapes together. Here are the following files for each of my shapes. I tried to make each structure to scale as much as I possibly could.

Pyramid Laser Cut Design:
-triangle: 5ft wide x 8ft tall
-square: 5ft x 5ft


Propeller Laser Cut Design:
Propeller: 6 ft long x 2 ft tall
Circle: 4 ft wide x 2 ft tall
Ice Cube Laser Cut Design:
square: 8ft x 8ft

Staircase Laser Cut Design:
Stairscase: 10ft wide x 10ft tall
stairs: 10.5 inches deep x 45 inches long

12/4 Update

This past week. I epoxied my concrete for the plater portion. I also CNCed my stools that go with the dining table. I also contacted the People's Food Co-op where I will be purchasing my wheat grass and placed an order. It should be arriving by thursday. (I will grow wheat grass in the planter area as of now) I sanded and finished the tops of the stool with polyurethane. On thursday I went and bought steel tubing for the legs of my stools. I plan on welding those in the next couple of days. I sanded down my epoxy for my side coffee table and am in the process of designing the legs for that table as well. By the end of this week I hope to have the dining table and stools completed for the actual IP review. Lastly, I have been working on my powerpoint for the IP mock review that I have tomorrow. Here are some process shots so far.


table epoxied. and almost ready for final assembly

CNC process shot of both stools


Sunday, December 4, 2011

Arambula 12-4-11

I've been detaching the electrical outlet from within the light bulbs for the final of 19 light bulbs so be filled with fluid. also playing around with different materials to add to the cage of neurons to make it more realistic of texture. along with getting ready for mock ip

Progress: EMBOSSMENT woahhhh

So I've finished another "facial expression" drawing.


And Wednesday I worked on monotyping the image.


I blocked out ink with a textured placemat. I really like the embossment seen below.

I then printed the inked side of the placemat like a relief.

I then printed the subtractive monotype plate and blocked out the upper left corner with a foam flower thing I found. Then, I monotyped my drawing over the yellow.

This is a close-up of the lovely embossment.