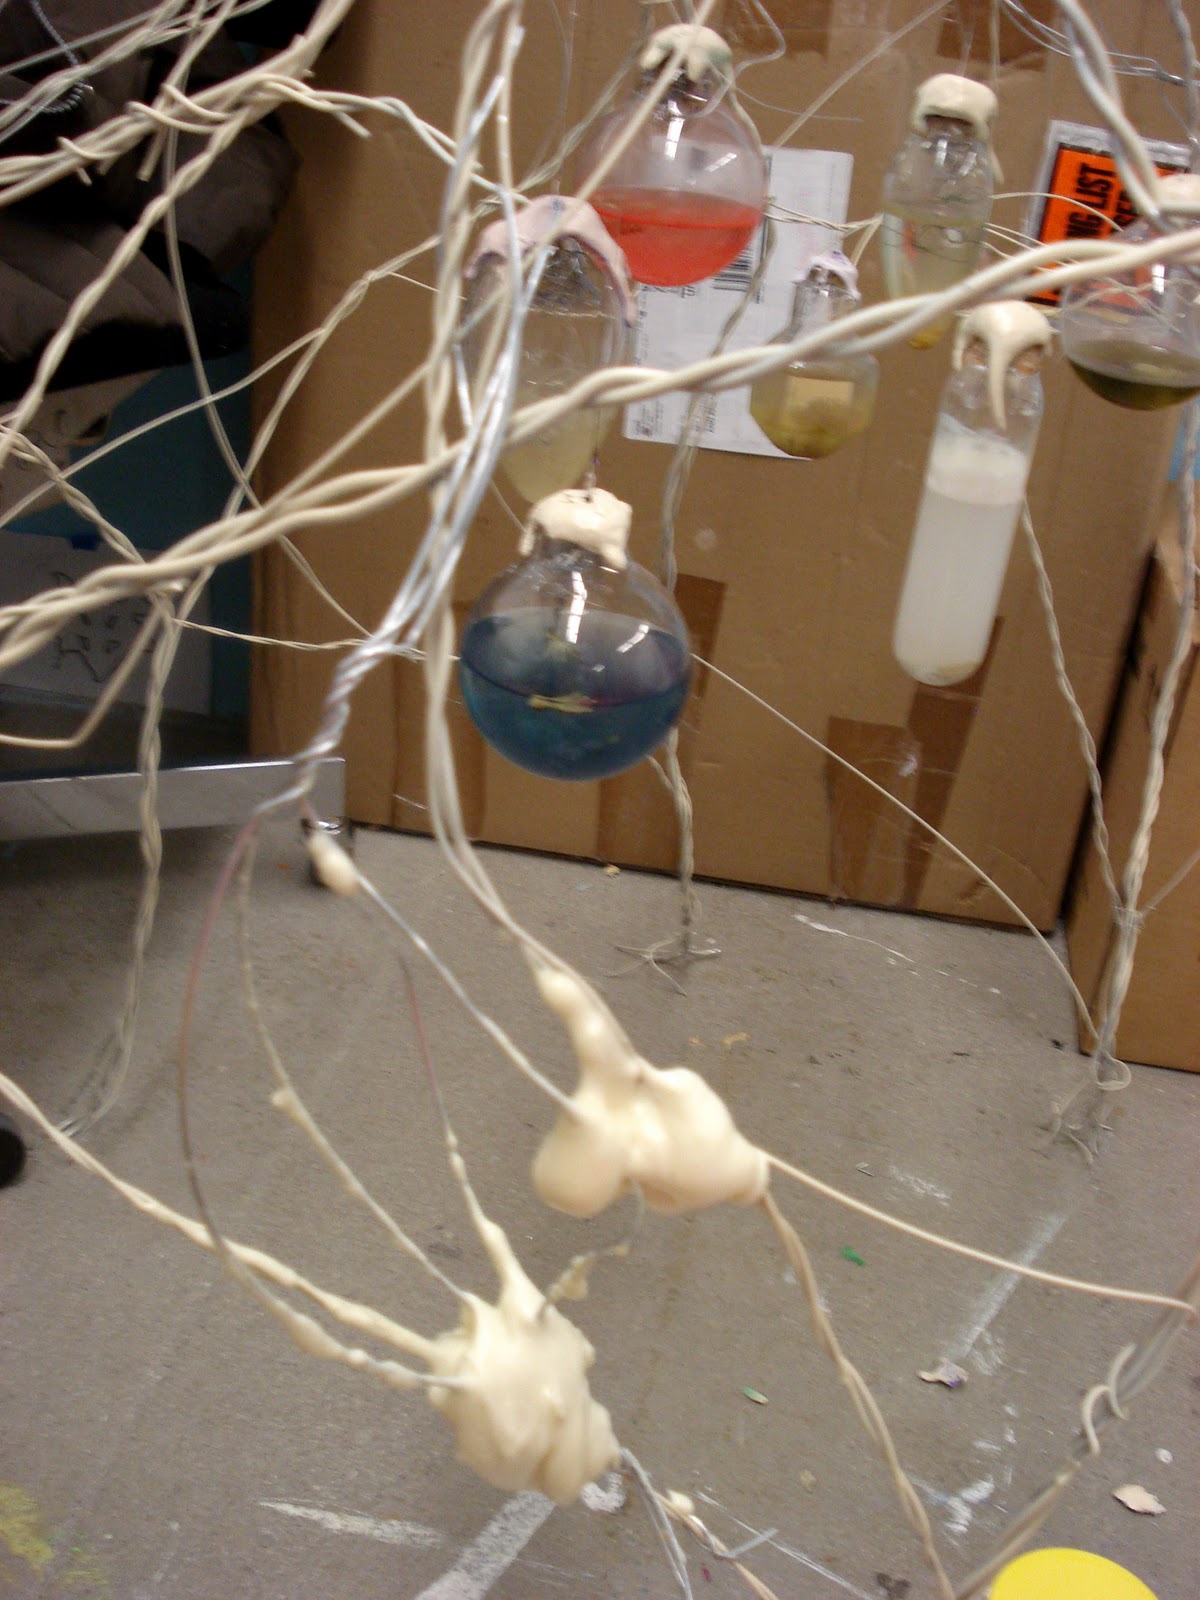
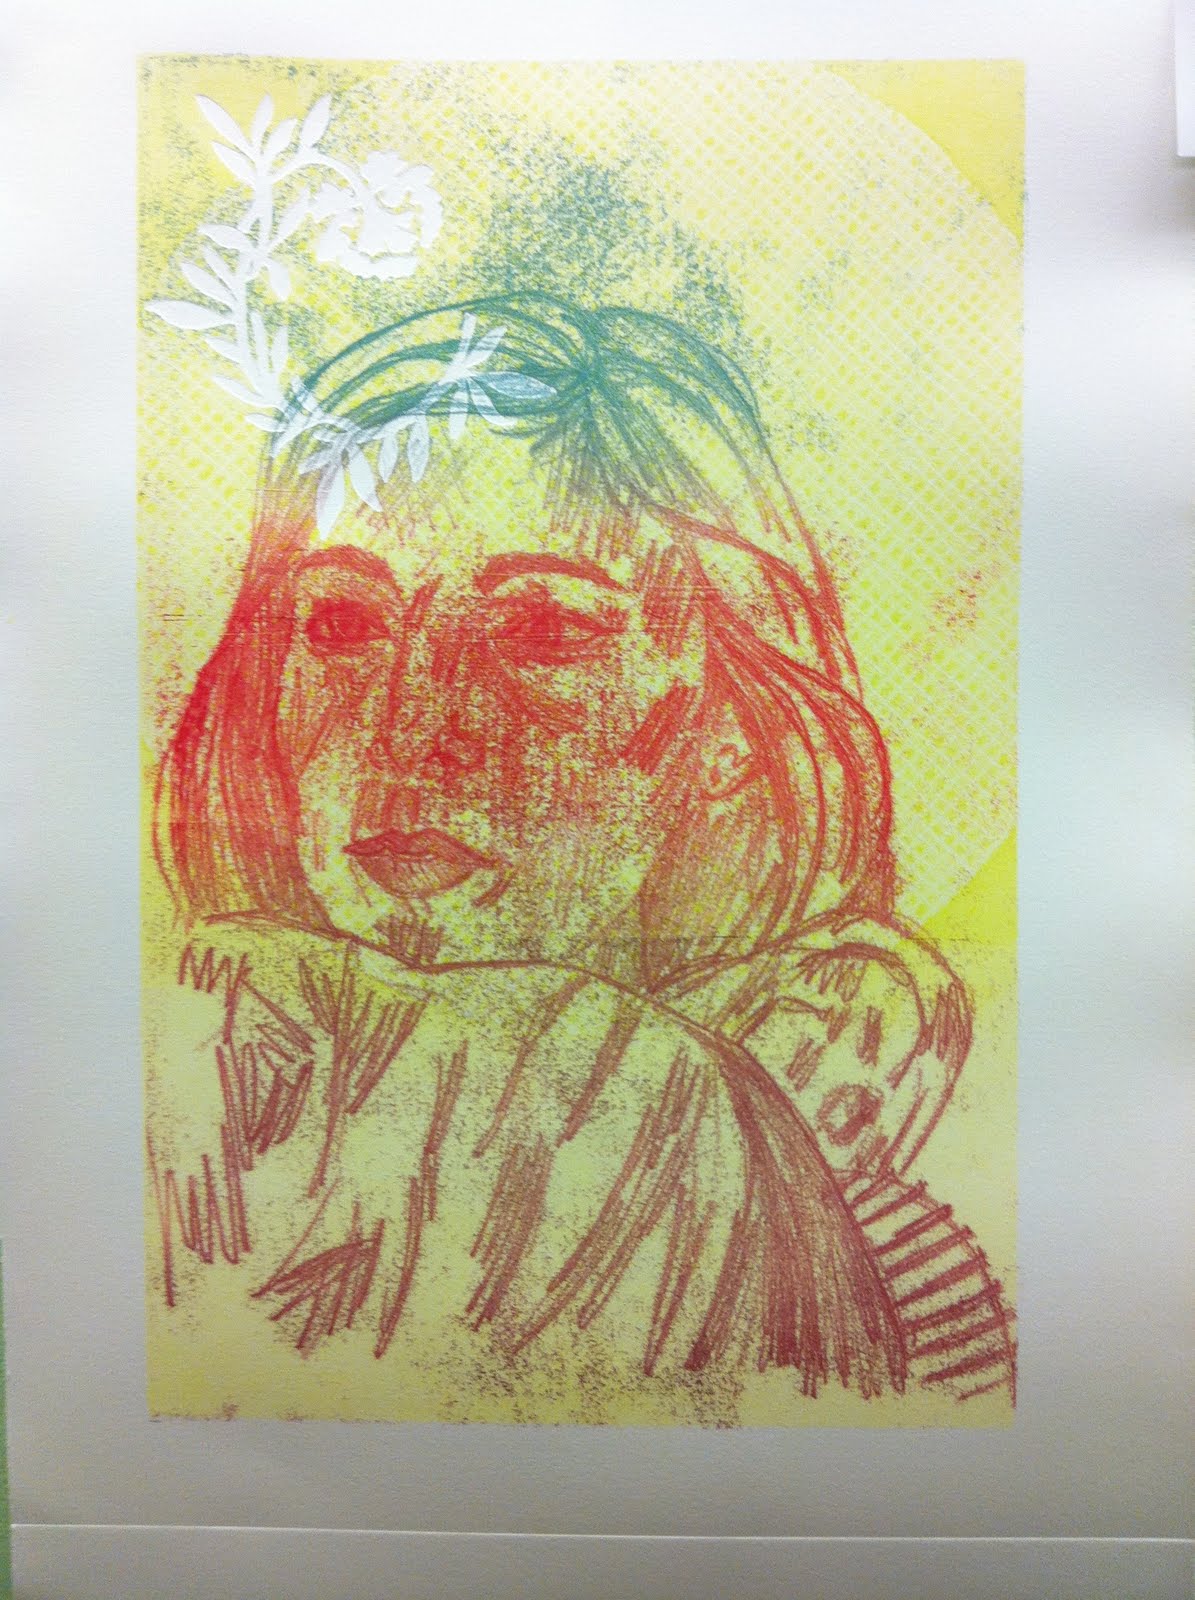
I purchased 35 yards of nude habutae polyester from the online fabric store that will arrive in the next couple days. It deffinitely ended up being worth my time to speak with several different companies to try and find anyone that would give me heavily discounted fabric or donations. The polyester I just purchased for the pyramid ended up being 50% off!
Preperation for printing:
The fabric I purchased is 60 inches/5 ft wide. Originally I had planned to make the pyramid 6ft wide by 8ft tall. Due to my limitations with the dimension of the fabric, I have now changed the dimensions to 5ft wide by 8ft tall. This way, I will not have to print my design in sections and try to piece the print back together which could be problematic.
The silk screens I will be working with are 2.5 feet long by 4 ft tall. So I do have to seperate my image I plan to print based on the limitations of the screen size along with the width of the table.
I have created my final designs in illustrator this way I can print out the eye and zipper on velum, and create multiple photo screens for the actual print.
Illustrator designs I created:
 -Each color on this zipper design will need to be a separate screen
 (3 screens total)
-This design will be printed on the nude polyester

The eye will be printed on blue fabric to add more dimension to the pyramid shape. Im hoping to create the effect that the eye is actually inside the pyramid and the nude fabric is being unzipped.
Sketches:
I have also continued to sketch the other shapes I plan to make for the installation. One that I have yet to finish is a melting ice cube. Here is what I have so far.

This is a staircase that will vertually lead to nothing. It was based on a re-occuring dream I had where the staircase would be a transition point in the dream. In order to make the staircase realistic I measured my own staircase. The dimensions on the left hand side show the dimensions of the staircase in my house. I also liked the idea of having a design that is continued on the horizontal portion of the stairs so when the viewer looks up, the design is complete. This staircase will be 10 ft. tall.

This object was based on a dream I had about putting a group of sick birds in a garbage bag and carrying them to another location that would be safe for them to call home. The black/gray color represents the garbage bag I placed them in. The circular colored "fluff" portions represent the beaks of the birds trying to puncture the garbage bag. I chose the "fluff" to be colored red, pink, orange, and yellow because at the end of the dream none of the birds had survived in the bag so I boiled them all in my kitchen. As the birds boiled they turned into worms that had these colorings.
I will create this "fluff"-like fabric by using polyester, tying off sections of the fabric with marbles, them steaming the fabric so it holds the circular shape. Below is a sample where I used this technique.

Also, for my final review I plan to create a small scale model of the entire installation. This way the professors reviewing me will better understand the installation as a whole and where each structure will be placed. I decided the easiest way to design this model was to create multiple illustrator files that could be exporded and laser cut to the correct shape. I will be working with the laser cutter tomorrow, then draw the designs onto each shape, and finally glue the shapes together. Here are the following files for each of my shapes. I tried to make each structure to scale as much as I possibly could.
Pyramid Laser Cut Design:
-triangle: 5ft wide x 8ft tall
-square: 5ft x 5ft

Propeller Laser Cut Design:
Propeller: 6 ft long x 2 ft tall
Circle: 4 ft wide x 2 ft tall


Ice Cube Laser Cut Design:
square: 8ft x 8ft

Staircase Laser Cut Design:
Stairscase: 10ft wide x 10ft tall
stairs: 10.5 inches deep x 45 inches long